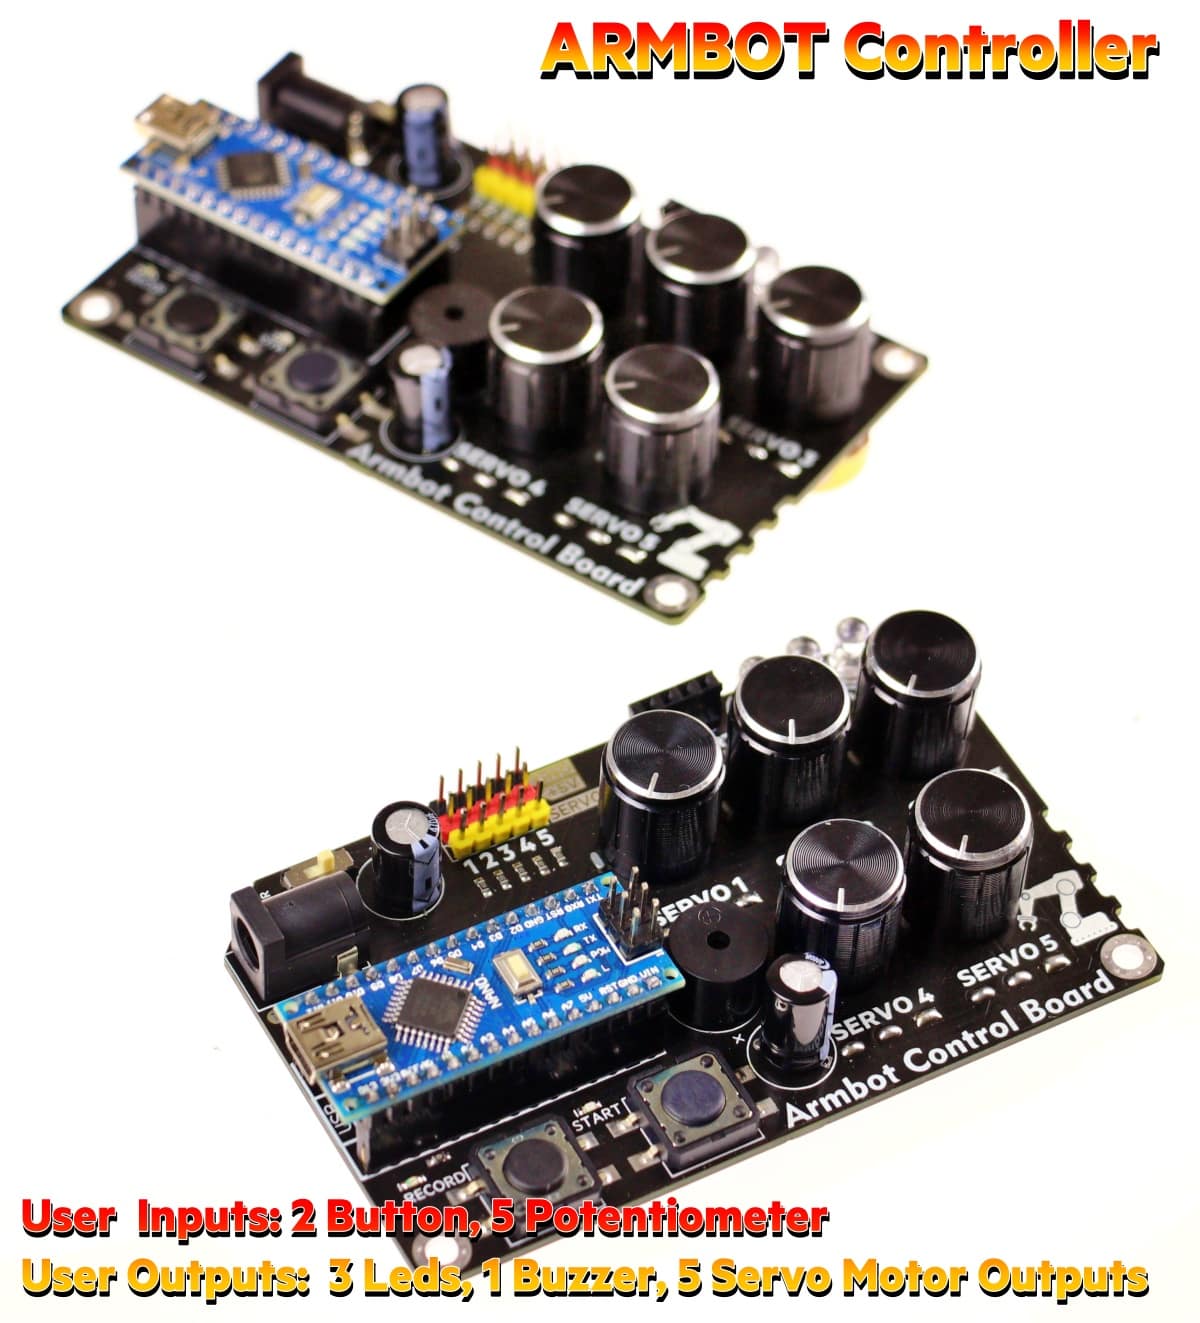
ARMBOT Control – Servo Motor Controller Board with Arduino Nano
- үнэ: 120,000 төг
Product Code: ARMSERV1
Dimensions:
Size (cm):10 x 10 x 3
Height (cm):6
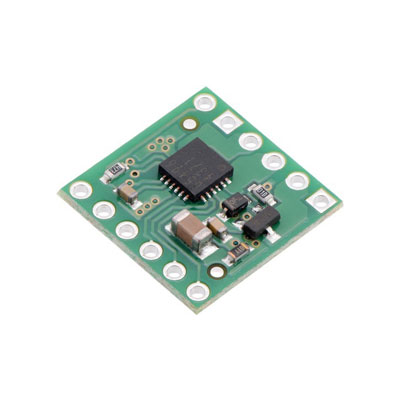
ARMBOT Control is a servo motor controller board with an Arduino Nano, that can control control servo motors (5 servo simultenaously) for robot arm or other servo motor-based projects.
It uses an Arduino Nano microcontroller as the brain, which can be programmed to send precise signals to the servo motor to control its position and movement.
This board features multiple channel servo outputs (5) controlled by potentiometers. You can also record every movement with button (Record button) and start the recorded movement (Start button).
Board Features
- – 81.7 grams weight
- – Dimensions are: 60 x 98 x 28mm
- – Voltage input is 5V (Caution! This board is only suitable with 5V power supplies, 5v adapters).
- – Comes with Arduino Nano clone (Servo control software uploaded and tested each MCU)
- – Can drive 5 x servo motors with 5 seperate potentiometers.
- – Potentiometer caps are premium aluminum machined for higher quality.
Firmware Features
Arduino Nano controller is preprogrammed for generic Arm robot & servo motor control purposes. Board firmware can be used for up to 5 axis robot arm projects. Position values are also saved to MCU rom memory.

How to Use Controller Board
Connect the board to electricity with a 5V adapter.
Without pressing any button, the potentiometer values will be positioned directly on the servo motors. Turning the potentiometers about 300 degrees will cause the servo motors to rotate 0-120 degrees or 0 – 180 degrees according to the servo motor model. The motor output controlled by each potentiometer is written under the potentiometer. (Servo 1, Servo 2, Servo 3, Servo 4, Servo 5) If you want to record a position state of the motors, press the Record button (first button). These 5 potentiometers and servo positions will be saved in the Arduino eeprom memory.
When you make a new positioning via the potentiometers and press the record button again, this will be recorded as a new position value, that is, as the 2nd checkpoint. Each time you press the Record button, a new position group will be recorded in the position record sequence. For every record buzer will beep and Led 3 will blink for shorter duration.
If you want to start these positions after completing the registration, press the Start button. The motors will go to the registered positions in order. And it will start to motor positioning sequence. While movement routine processed buzzer will longer beep and LED 1 will turn on.
If you want to record new sequence you need to reset or power off/on the main board. New sequence array will be overwritten to old values. This advanced Arduino code will also be sent to our customers via email.